Search This Blog

Showing posts with label peat moss. Show all posts

Wednesday, August 26, 2020

Fast and Furious

Things are moving fast and furious here. Fall is inexplicably fast approaching or so it feels. I guess it's just that there is a lot of work to be done and time is going by fast. I have begun the lettuce and chard plants in the greenhouse planters along with seeding in the Winter Rye in one garden bed. I am a little early with the rye but I do have my reasons for this.
The primary reason is that I did not get a crop planted early enough last year and it was what I would call feeble. There were patches of it but not what I would call vigorous. This affected this years crops and resulted in failures I am not accustomed to. The second reason is that the outlook for fall is, from what I can discern, colder than normal. If I delay the planting into this weather, the Rye will not be as healthy as I need. There are two components to the Rye. The first is the top growth which will help stabilize the surface of the soil. For farmers, this is important to control soil erosion. For me, it's more about weed suppression in the spring. The second aspect is root growth and penetration. With the warmer weather I am currently planting into, the roots will be more voluminous and longer. When the Rye is cut in the spring, the roots die and leave aeration pathways for the plants roots to develop. It also softens the soils composition. I should see the results next year.
As I said earlier, I planted my seeds for lettuce in the greenhouse planters. I began by spacing the plantings according to the instructions I found on line. I made holes where the seeds were going to be planted. After this, I filled each divot with vermiculite and watered it down. Then I placed the seeds into the vermiculite and watered them in to make sure the seeds were moist. I followed this by spreading a thin coat of vermiculite over the seeded area and moistening it again. I have been doing this for many years with good success. I adapted this from a procedure I learned while using the Square Foot Method. Here is a picture after planting the first four varieties of lettuce. 
Thumb of 2020-08-21/grdnguru/8236fc
I used the same method on one of my round planters to start a chard plant. I thought that Chard needed a deeper planter but as it turns out, from research I did after starting this plant, they actually do quite well on shallower planters. So, lesson learned. Here is a picture of this plant/planter.
Thumb of 2020-08-21/grdnguru/93bacb
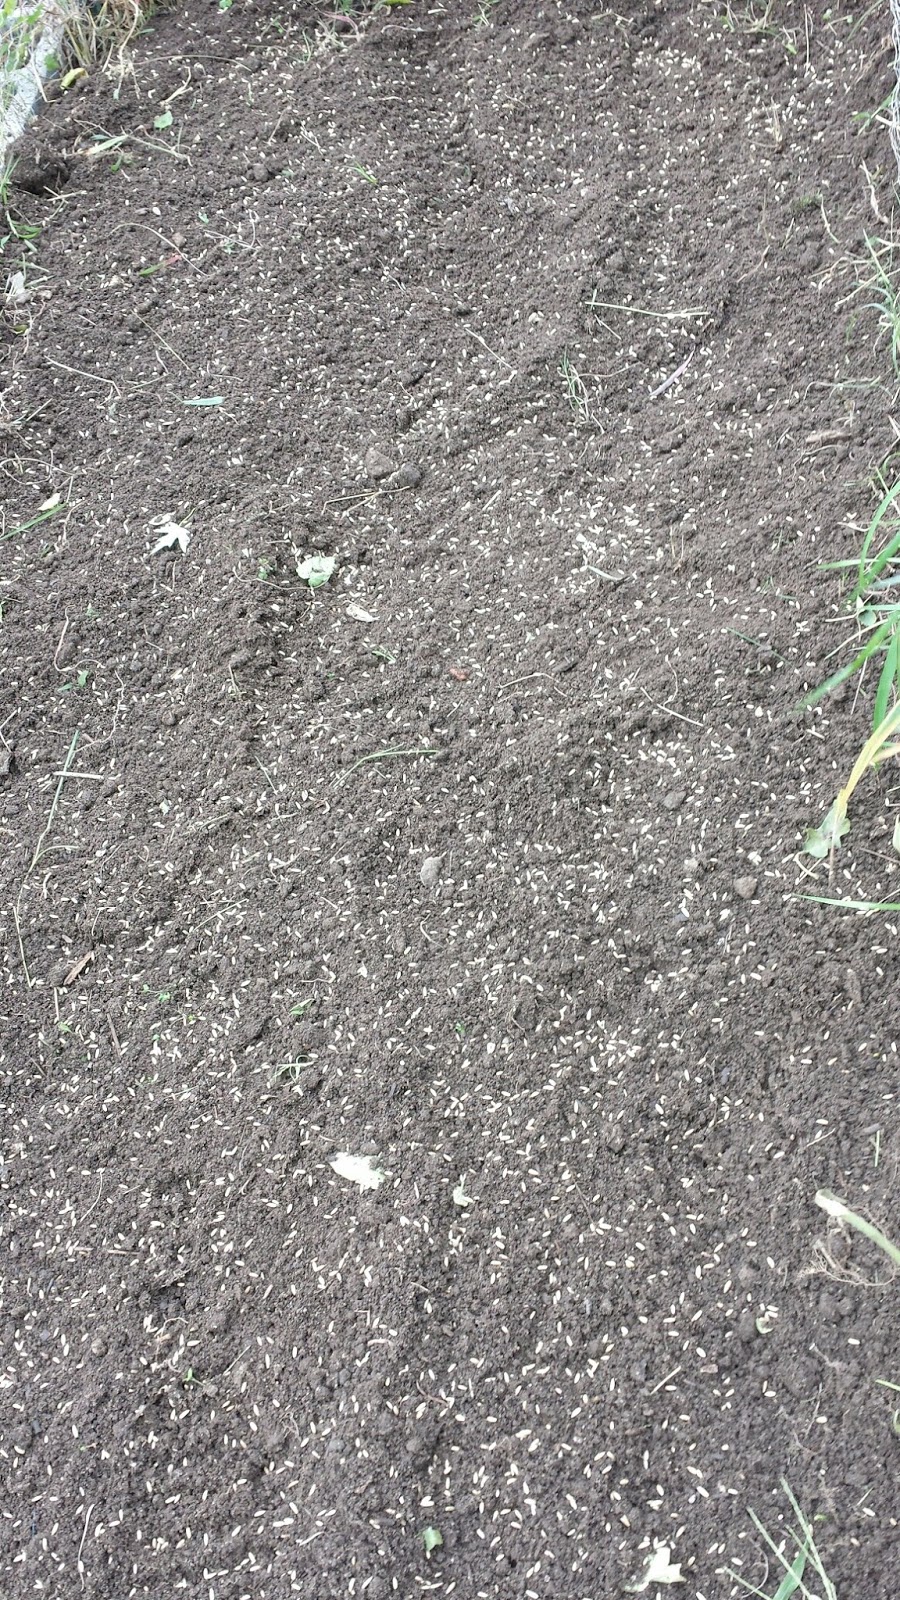
Later in the evening, I seeded Rye into one of my beds. I started by raking the soil to loosen the surface tension. Next, I watered the soil with a fine mist and then spread the seed as evenly as possible. I did use a little more seed than usual as I want a very dense growth this year. I then took a rake and tamped the seed into the soil so it made contact with the ground. After completing the seeding and tamping, I watered the bed down again with a fine mist just to insure the seeds were moistened. After that, I spread a layer of Peat Moss over the bed and watered it down. I followed this with a light coating of more Peat to cover the seeds that emerged when I watered the first layer down. The peat both covers the seeds from birds and keeps the moisture level even.
I will water the bed in the morning, around noon and at dusk in order to assist the germination. You don't want seed to dry out. I won't water as much once the seedlings usually appear in about 5-6 days.
Here is the picture of the finished bed.
Thumb of 2020-08-21/grdnguru/313ca0
My next projects will be to continue with the seeding in of my beds and to plant additional crops in the greenhouse. I think I will start 2 Pepper, 3 Spinach and a row of carrot plants for now. That's all the news at this time. So, until the next post, Happy Gardening everyone!

Sunday, October 4, 2015

Sunday, busy Sunday

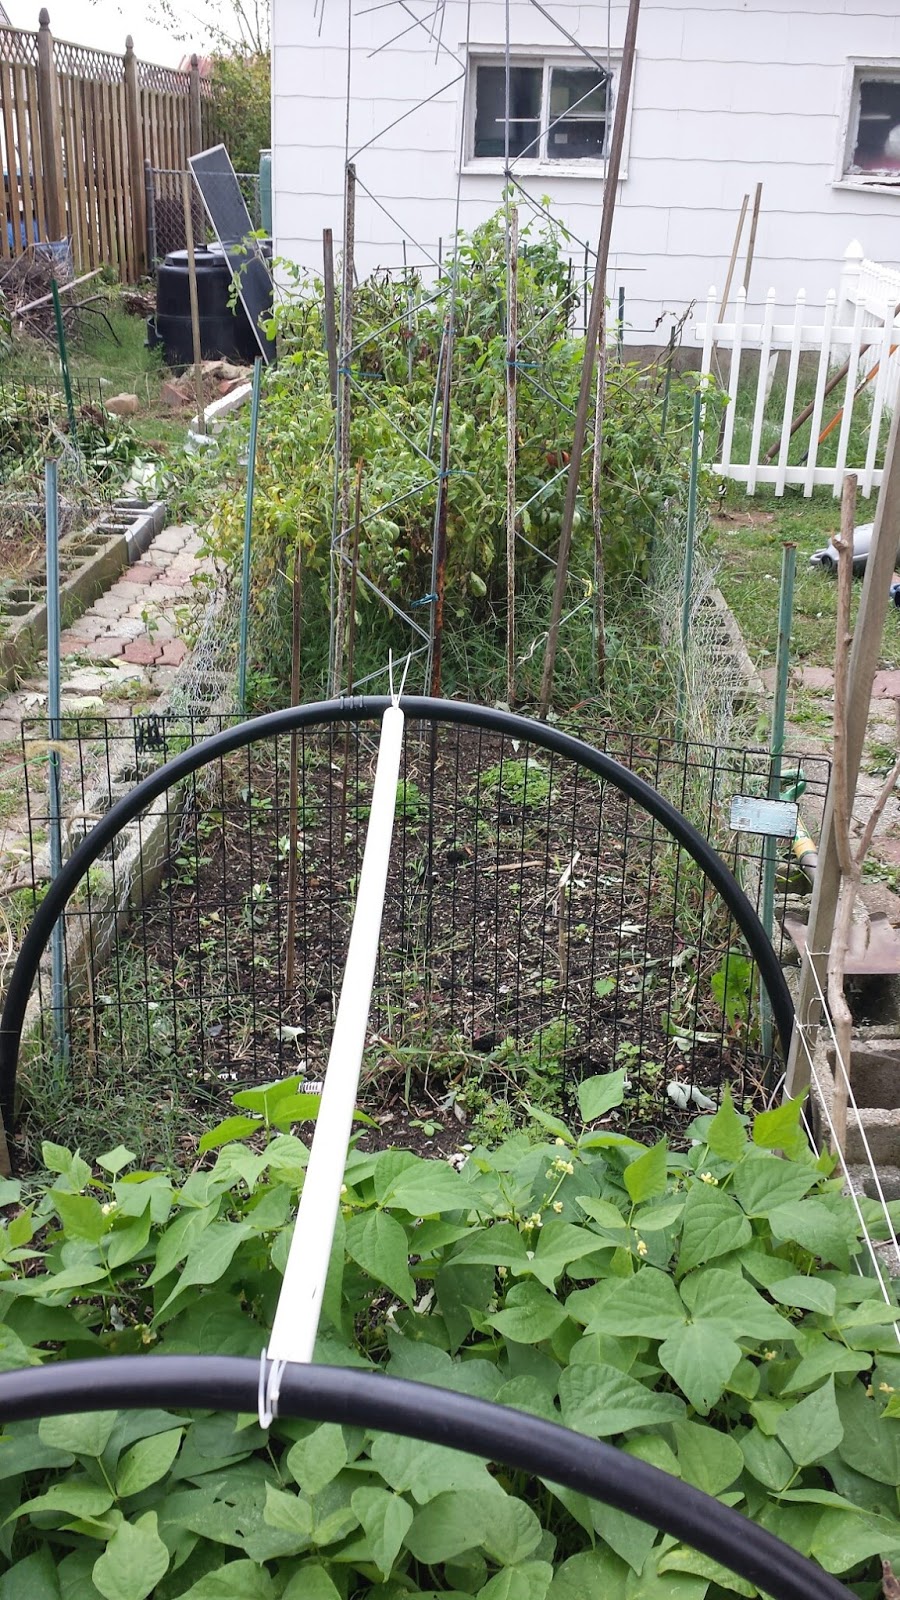
I woke up this Sunday morning with nothing really in mind.  Due to a change in my plans, I decided that since Joachin was a bust here in Baltimore, that it would be a great cool day to shut down both of my beds for winter.  That entailed harvesting the final tomatoes and peppers for the year in those beds.  After clearing out the plants, I then raked the beds and cleared out the few weeds that were in the beds.  Then I seeded in the winter rye.
As discussed in my prior post, using winter rye as a cover crop for winter is becoming more accepted by farmers and gardeners alike.  I have found it to be very useful and have seen an increase in the yields over the three years I have been doing this.  There are numerous advantages to doing this.
I follow the same routine every year.  I will detail that here.  Below are pictures showing the progression to get one of my beds ready for rye.


The picture on the left is the beginning condition of the bed.  On the right, it shows the result of pulling the plants and tilling with a tine rake to clear all the debris and weeds from the bed.  Once you get the bed to this condition, you can then seed in the rye seed.  I use a hand spreader as pictured below.
This helps to evenly spread the seeds to reduce the number of bare spaces in the beds.  The result should look like the picture below.

Once you spread the seed, I suggest you should lightly tamp the seed into the soil using a tine rake in order to make sure the seed is in contact with the soil.  It should look like the picture below.  Again, you would lightly tamp them in.  All you want is for the seed to be pressed into the soil.
                                                                                                                                                                    After this is completed, I go one step further.  I would encourage you to cover the seed with peat moss.  I do this for multiple reasons here.  We have a big bird population here which would mean they would easily find and eat enough seed to wipe out a fair portion of what I sowed.  Secondly, unlike other covers such as straw or a bird mesh, the peat moss does not need to be cleaned or taken off the seeds.  It becomes part of your soil.  Peat moss also keeps the soil moist between your watering.  Below are two pictures showing the peat moss as I progressed.


The picture to the left shows half of the bed being covered to give you the contrast between what it started out as and what it should look like after application.  The right picture shows the completed bed.  I make sure as many seeds as possible are covered so as not to attract the birds.  
Once you have all the seeds covered as best as possible, you will then lightly water the beds to wet the seeds.  After you have done this, you need, as in all seed applications, to insure that the beds do not dry out.  One hint I have is to watch the weather and if you can, plant the rye when there is an expected period of rain in the near future.  I have done this a few times and it seems that nature is much better at watering than I am.  I get my best results when I am able to time it in this fashion.
Well, that's about all I have for today.  I will update my rye planting as it develops.
Until then, happy gardening everyone.