As discussed in my prior post, using winter rye as a cover crop for winter is becoming more accepted by farmers and gardeners alike. I have found it to be very useful and have seen an increase in the yields over the three years I have been doing this. There are numerous advantages to doing this.
I follow the same routine every year. I will detail that here. Below are pictures showing the progression to get one of my beds ready for rye.
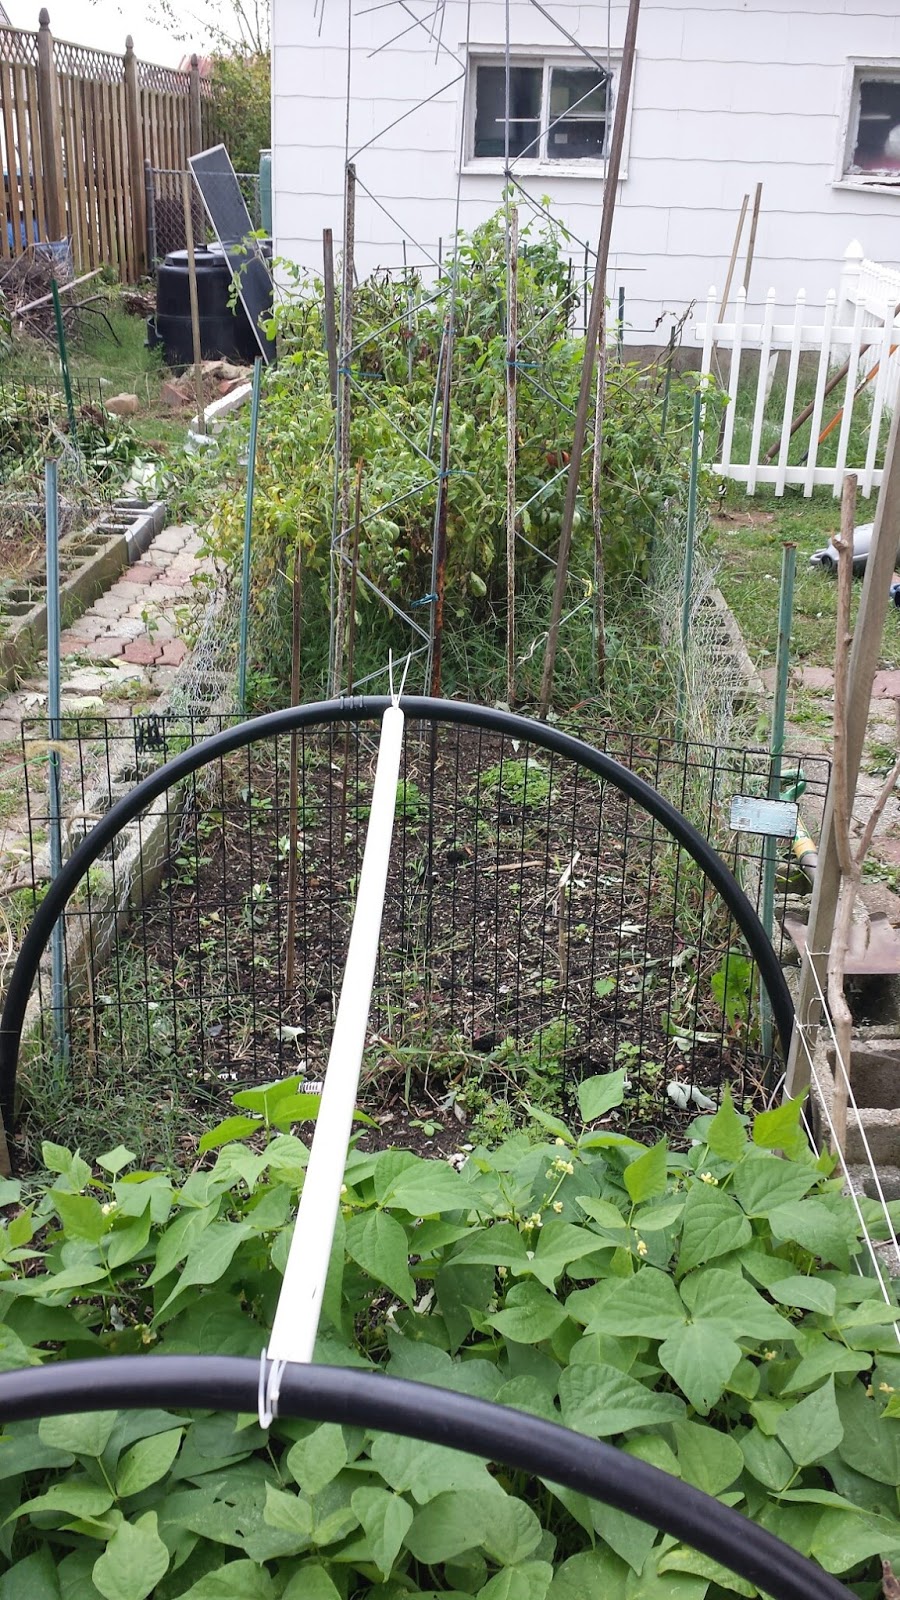

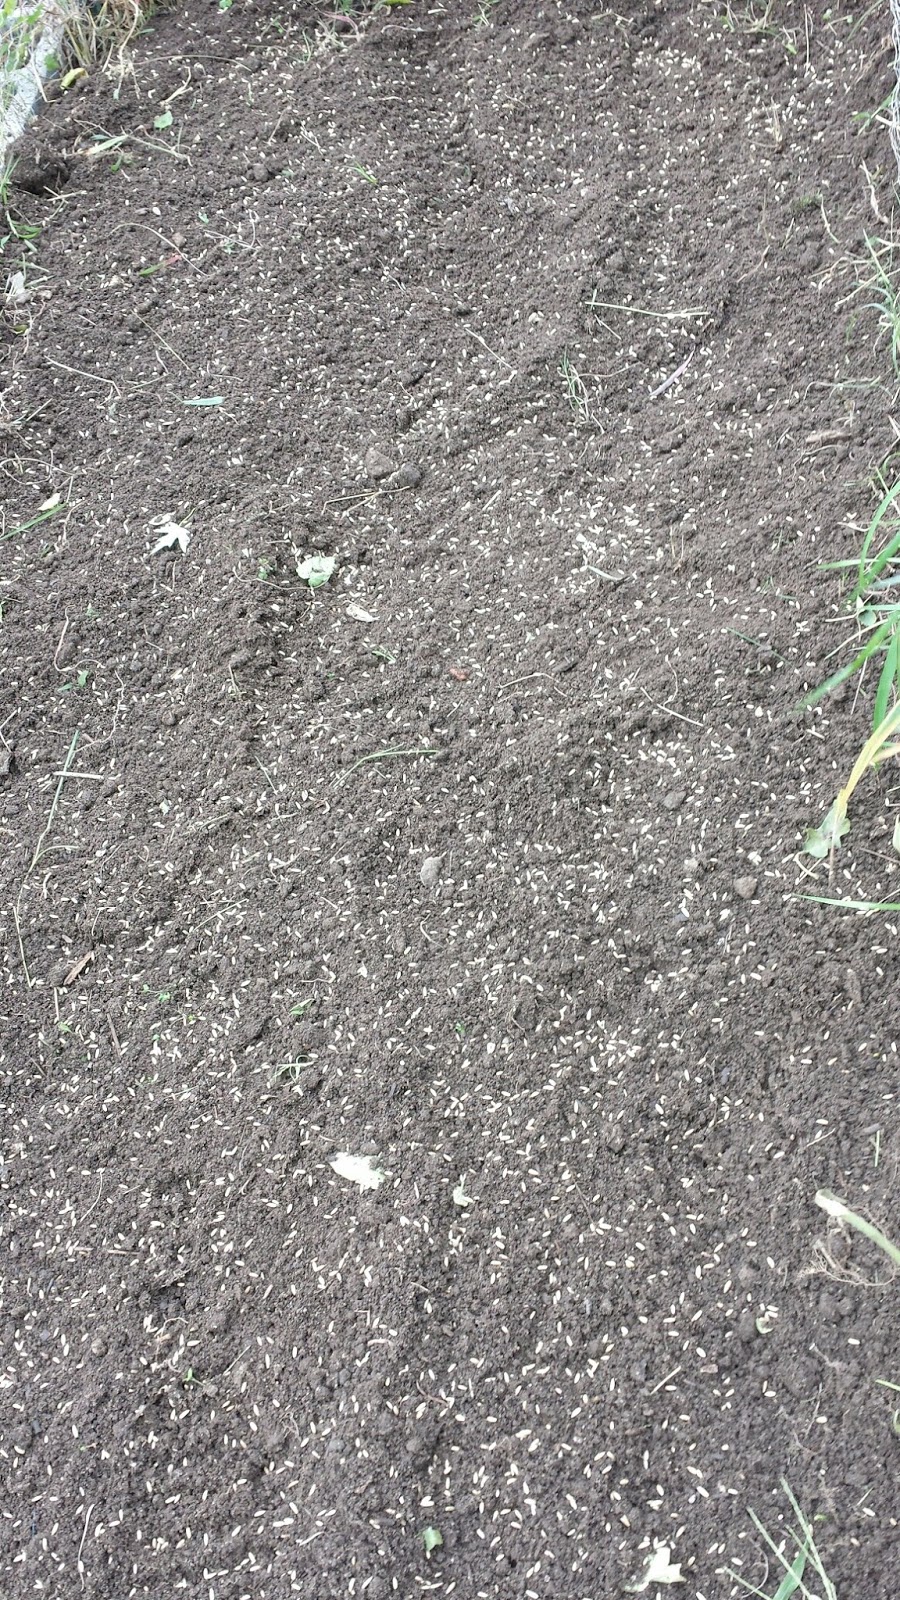
The picture on the left is the beginning condition of the bed. On the right, it shows the result of pulling the plants and tilling with a tine rake to clear all the debris and weeds from the bed. Once you get the bed to this condition, you can then seed in the rye seed. I use a hand spreader as pictured below.

This helps to evenly spread the seeds to reduce the number of bare spaces in the beds. The result should look like the picture below.


The picture to the left shows half of the bed being covered to give you the contrast between what it started out as and what it should look like after application. The right picture shows the completed bed. I make sure as many seeds as possible are covered so as not to attract the birds.
Once you have all the seeds covered as best as possible, you will then lightly water the beds to wet the seeds. After you have done this, you need, as in all seed applications, to insure that the beds do not dry out. One hint I have is to watch the weather and if you can, plant the rye when there is an expected period of rain in the near future. I have done this a few times and it seems that nature is much better at watering than I am. I get my best results when I am able to time it in this fashion.
Well, that's about all I have for today. I will update my rye planting as it develops.
Until then, happy gardening everyone.
No comments:
Post a Comment
Have a comment? Please share it!